🎥 How to instal decorative spots and studs
Antonia MarinoIf you want to make your leather projects look cooler and tougher, spots and studs are the way to go. Whether you're into making belts, wallets, or bags, these little things can make your creations stand out. In this guide, we'll talk about what spots and studs are for, how to use them, and some tips for getting them on your leather goods.

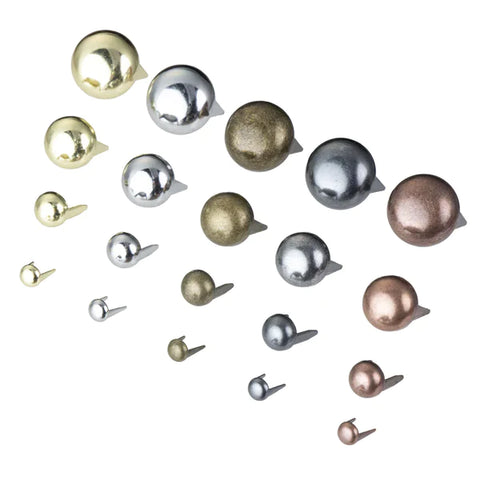
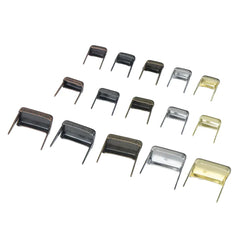
Spots and studs come in different shapes and sizes, letting you create fancy designs on your leather stuff. They give a cool, stylish vibe that works for both classic and modern styles. These decorations aren't just for show; they also make your leather items tougher. Adding studs to the corners of your wallet or spots on a belt can make your creations last longer.
Use spots and studs to add a personal touch to your leather items. Spell out your initials, create cool symbols, or design patterns that show off your creative side. It's an awesome way to make your crafts one-of-a-kind.

You can put spots and studs on with or without a setting tool. It's up to you and what you're comfortable with.
To install without a setting tool
- First choose the spots or studs that are the right size for your leather.
- Use a pen or a sharp tool to mark where you want to put your spots. This helps you make sure everything looks good.
- Punch small holes where you marked using a small blade. Make the holes just big enough for the prongs of the spot.
- Put the prongs of the spot through the holes from the back of the leather. On the front, fold the prongs out to keep the spot in place.

To install with a 2-piece setting tool
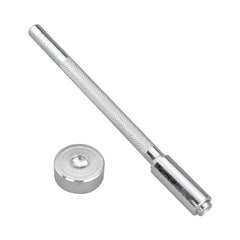
- Grab your spots, setting tool with anvil, a punching mat and a mallet.
- Do the same marking step like in the no-tool method.
- Put the spot into the tool and place over the front of the leather.
- Using a mallet, tap the prongs into the leather. The prongs will penetrate into the punch board.
- Pull the leather off the punch board and position the spot prongs onto the anvil.
- Using the setting tool again, tap the top of the spot. This makes the prongs fold against the leather and keeps the spot in place.

