
Simple Guide to Leather Rivets: How to Use and Install
Antonia MarinoMaking things out of leather is a cool craft. One piece of hardware you really need is the leather rivet. These tiny things may look small, but they're super important. They help attach pieces of leather together, making your projects strong and lasting.

You can use leather rivets for different things in your leather projects. They're great for sticking leather pieces together, like when you're making a wallet, belt, or bag. They also help make those weak spots, like the corners of a bag or where a strap connects, really strong. Plus, they come in different styles and finishes.
Most rivets need a small tool to put them in the right way. This tool is called a setting tool.
Let's take a closer look at installing a simple single cap rivet, a fundamental skill that can elevate your leather crafting game.
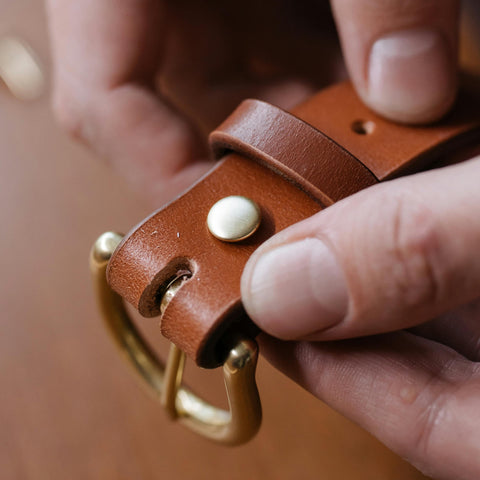
Single cap rivets consist of two parts: the cap and the post. The cap is the visible top part, and the post is the part that goes through your leather pieces. To install a single cap rivet, you'll need a setting tool.
Setting a single cap rivet

Materials Needed:
- Leather pieces to be joined
- Single cap rivet
- Setting tool
- Leather punch or rotary punch
- Mallet
Prepare Your Leather: Lay out the leather pieces you want to join and mark the positions for your rivets. Use a leather punch or rotary punch to create holes at these marks.
Insert the Rivet: Place the post of the single cap rivet through the hole from the front side of the leather, so the cap is on the top side and the post is on the back.
Position the Setting Tool: Position the setting tool on the cap, ensuring the post sits flat against work surface.
Hammer rivet together: Give the setting tool a few taps with the hammer. Start lightly and gradually increase the force until the rivet is securely in place. Be careful not to hit too hard, as it may damage the leather or cause the rivet to misshape.
Check the Connection: Inspect the rivet to make sure it's flush with the leather surface. Ensure there are no gaps and that the pieces are securely joined.
Hints and Tips:
Practice on Scrap Leather: Before working on your main project, practice installing rivets on scrap pieces of leather. This helps you get the feel for the process and ensures you're comfortable before tackling your actual creation.
Choose the Right Size: Make sure to select the right size of rivet for your project. Using a rivet that's too short won't provide a secure connection, while one that's too long will be too lose and may damage the leather.
Work on a Stable Surface: Use a stable and secure surface. Start with a sturdy table that doesn't flex or wobble. Using a marble slab is also useful.
Use a rivet setting anvil: When setting rivets like double caps, domed etc you will use a specific anvil for that style and size of rivet. This is essential so the rivet isn't flatted.