

DYLUSIONS Stencil Stitch It
DYLUSIONS Stencil Stitch It
SKU: SKU:789541075400
3 on hand
Couldn't load pickup availability
To use a stencil, follow these basic steps:
1. Secure the stencil to your surface using tape or adhesive. Make sure the stencil is flat against the surface and doesn't move while you're working.
2. Dip your applicator tool (brush, sponge, etc.) into your paint or ink and blot off any excess. You want enough paint to create a clear image, but not so much that it bleeds under the edges of the stencil.
3. Apply the paint or ink using a dabbing motion. Try not to drag the applicator across the stencil, as this can cause the medium to seep under the edges and blur the design.
4. Carefully lift the stencil off the surface. Be sure to lift it straight up to avoid smudging the design.
Frequently Asked Questions
Order Processing
In-stock items: Our goal is to dispatch in-stock items within 2-5 working days, but our turnaround time is typically faster than that.
Shipping Fees & Options
We ship to NZ and AUS. Most standard orders have calculated shipping fees at checkout.
Economy Courier: We will send your parcel by the cheapest courier to your location using either Castle Parcels, Post Haste, Aramex or NZ Post.
NZ Post: We will courier your parcel only via NZ Post.
Delivery Times
Our target delivery* estimates are:
- Auckland 1-3 working days
- North Island 2-4 working days
- South Island 3-6 working days
- Allow extra 1-4 working days for non-urban &/or rural deliveries
- Australia 1-3 weeks
*Delivery times may vary depending on your exact location. Delays can occur within the courier networks during peak times.
Change of Mind Returns
Eligible products can be returned within 30 days of the purchase.
View our Returns & Refunds policy for more details on change of mind returns.
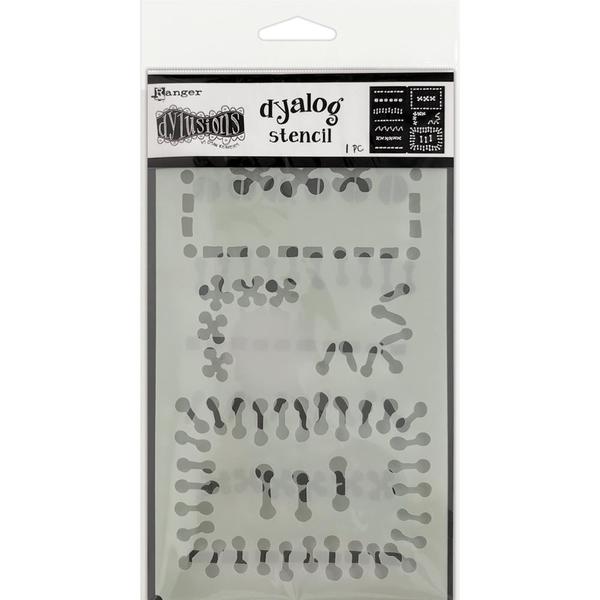
DYLUSIONS Stencil Stitch It
DYLUSIONS Stencil Stitch It is a versatile template that measures 12 x 24cm. It is perfect for creating unique designs that incorporate sewing patterns. Whether you are a seasoned crafter or just starting out, this stencil is a must-have for your collection. The intricate stitching details will add a beautiful touch to any project, from scrapbooking to card making. The durable material ensures that this stencil can be used over and over again, making it a cost-effective choice for all your crafting needs.
With DYLUSIONS Stencil Stitch It, the possibilities are endless. Use it to add a touch of whimsy to your home decor, or create personalized gifts for your loved ones. The easy-to-use design allows for precise placement and clean lines, making it suitable for both beginners and experienced crafters. This stencil is also great for mixed media projects, adding texture and dimension to your artwork. So why wait? Add DYLUSIONS Stencil Stitch It to your cart now and let your creativity soar!
Shop now at Mollies.nz and enjoy fast shipping and excellent customer service. Our wide range of crafting supplies and tools will inspire you to create beautiful and unique projects. Don't forget to check out our other DYLUSIONS products for even more creative possibilities. Happy crafting!
How to use a stencil?
1. Secure the stencil to your surface using tape or adhesive.
2. Dip your brush/sponge/dauber into your paint or ink and blot off any excess.
3. Apply the paint or ink using a dabbing motion.
Do you have a blog for how-tos, videos and craft hacks?
Yes! check out our Mollies Blog.
Eligible products can be returned within 30 days of the purchase.
View our Returns & Refunds policy for more details on change of mind returns.
Eligible products can be returned within 30 days of the purchase.
View our Returns & Refunds policy for more details on change of mind returns.
Shipping is calculated at checkout. You can review our shipping and processing times here.
GST is included for New Zealand Customers.
Shipping is calculated at checkout. You can review our shipping and processing times here.
GST is included for New Zealand Customers.